
Crystal Build Guide
Description
With the updates Crystal Source code has been receving, the Guide's for building the source and compiling them have become outdated which has led to alot of confusion and help being requested.
This guide will be a complete step by step guide from downloading visual studio to launching into your server.
Step 1
Downloading Visual Studio 2022
Download VS Community 2022 using the following link - Visual Studio
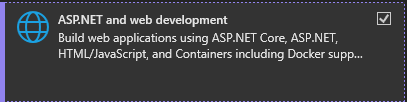
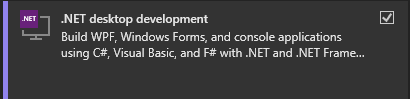
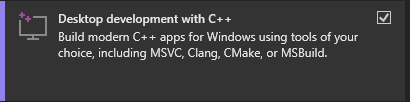
Once VS is downloaded, Open it up and download the following WorkLoads:
If you can't find this window head over to Tools > Get Tools and Features
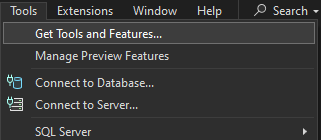
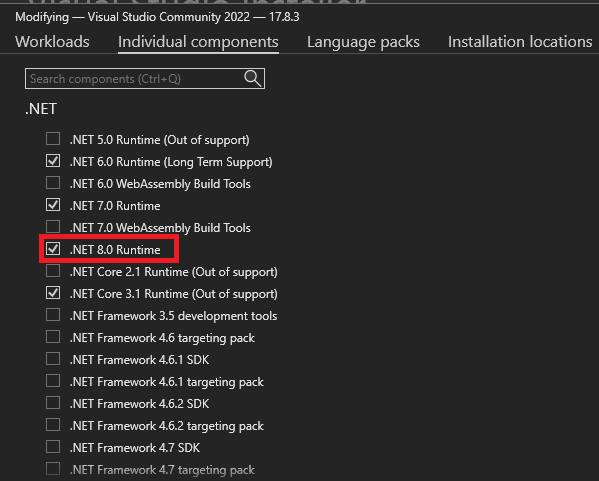
Select Individual Components and Select .Net 8.0 Runtime
Step 2
Downloading the Latest Source Code
Head over to github.com/Suprcode/mir2

Once this is downloaded head over to your Desktop and create a new folder called Crystal Mir 2.
Open up your mir2master.zip from your downloads folder and drag the folder into the Crystal Mir 2 folder located on your desktop.

Step 3
Building the code
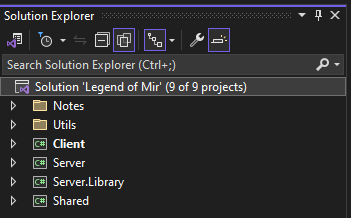
Open up Legend of Mir.sln located in your Crystal Mir 2 > mir2-master
Right click Solution 'Legend of Mir' (9 of 9 projects)
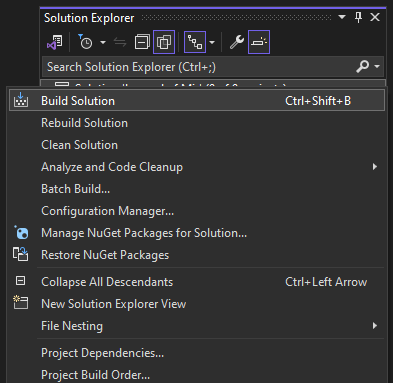
Click Build Solution
Encounting this error?

If so head over to Visual Studio Couldn't process file fix to fix these errors, Then repeat Step 3.
Step 4
Creating the folders we need
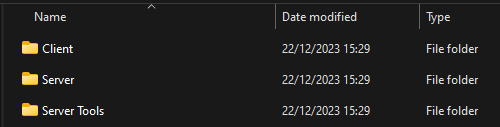
Open Crystal Mir 2 Folder and create the following empty directories.
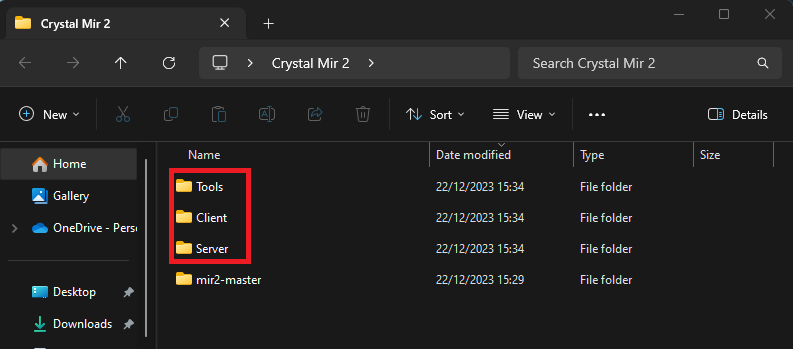
Now open your mir2-master folder and open the Build Folder.
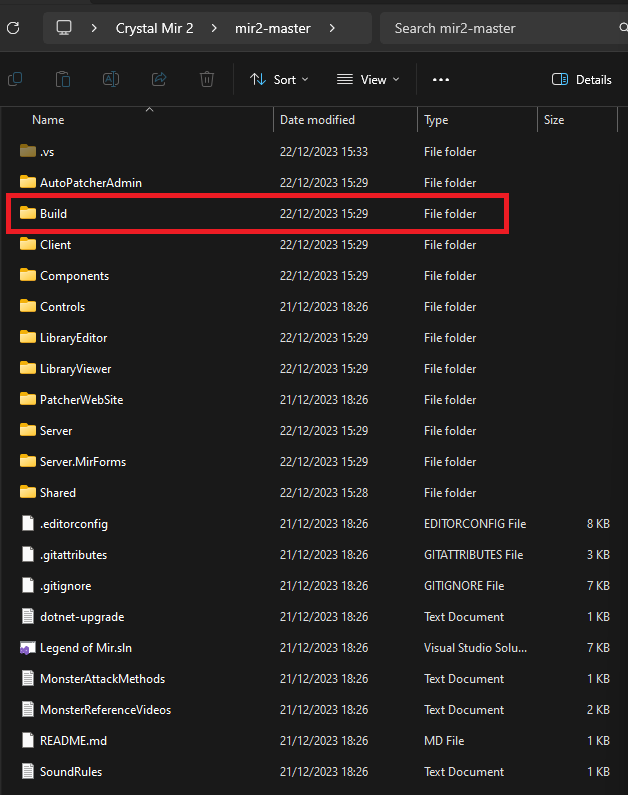
You should now see these three directories:
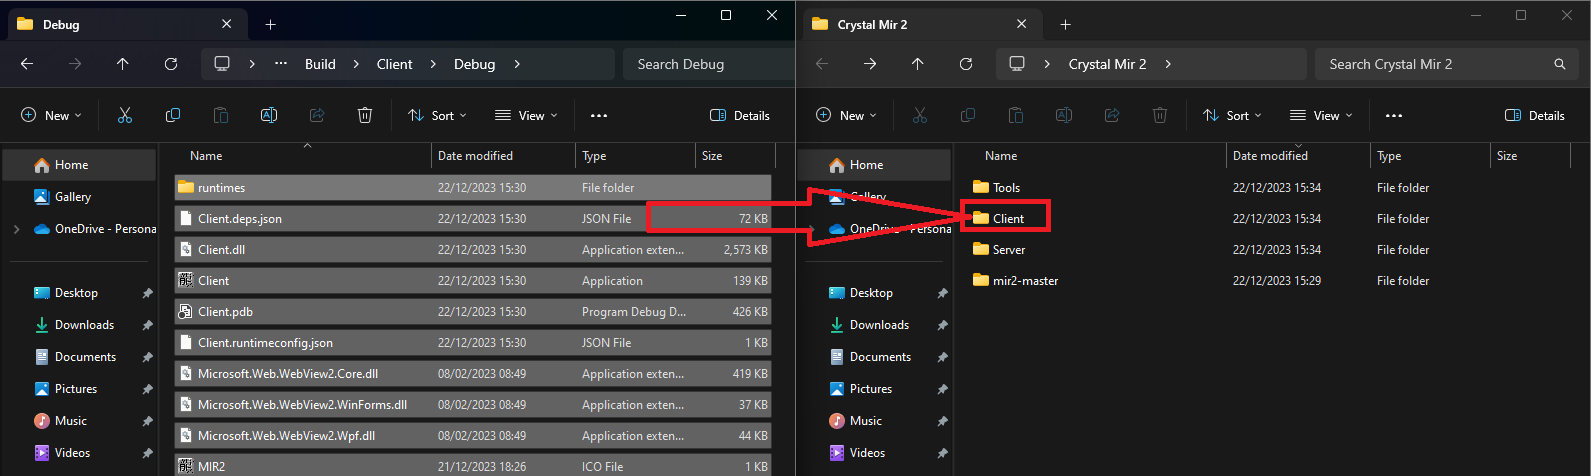
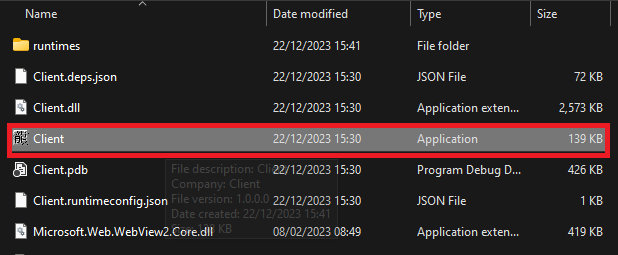
Open the Client folder then open the Debug folder.
Copy all of these files into your Client folder located in Crystal Mir 2 > Client
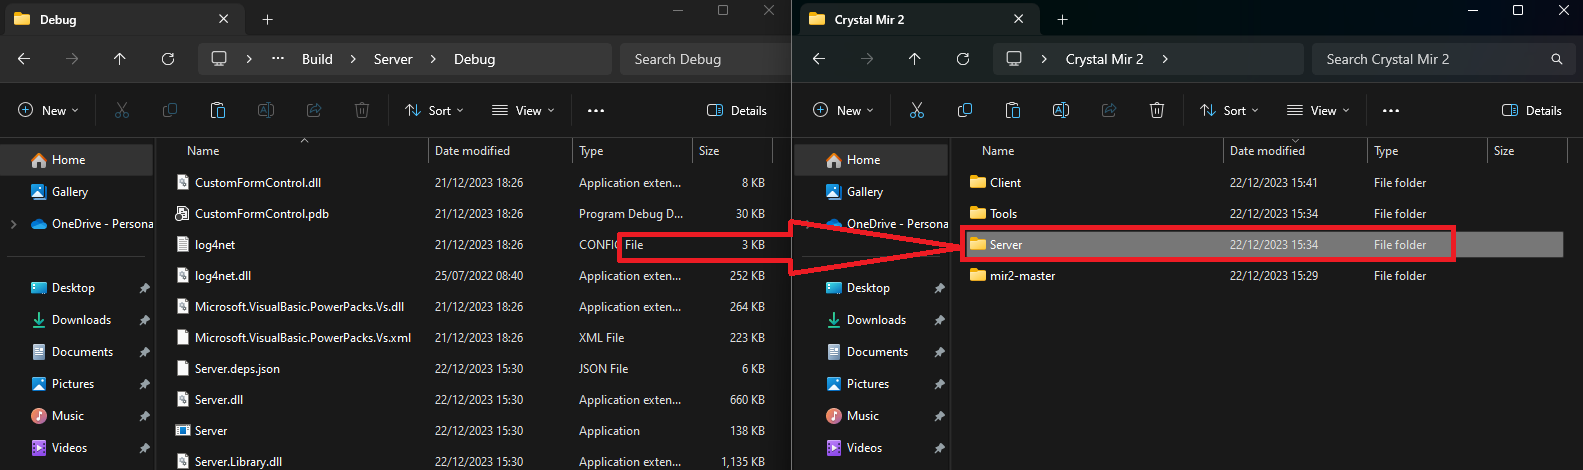
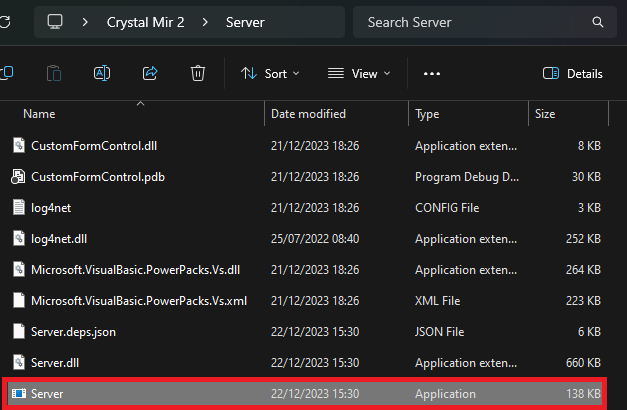
Repeat this with the Server Folder located in the Build folder, copy all those files into the Crystal Mir 2's Server folder.
Step 5
Patching the Client
Open your Client folder that's located in Crystal Mir 2 (Not the build folder)
Now open the Client.exe
This will now open the Client which will download all the required base files for your client.
Step 6
Starting the server
Open your server.exe in Crystal Mir 2 > Server (Not the build folder)
This will now create all the required files for the Server.
You will now see the Server with the following error:
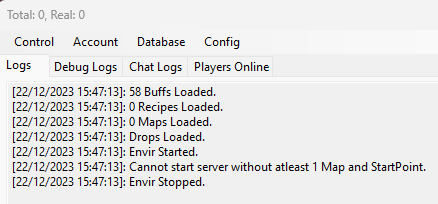
- If you would like to Download a pre-made database, go straight to Step 7.
- If you would like to start your server with no database (Create your own) then close your server down and open Setup.ini located in Crystal Mir 2 > Server > Configs
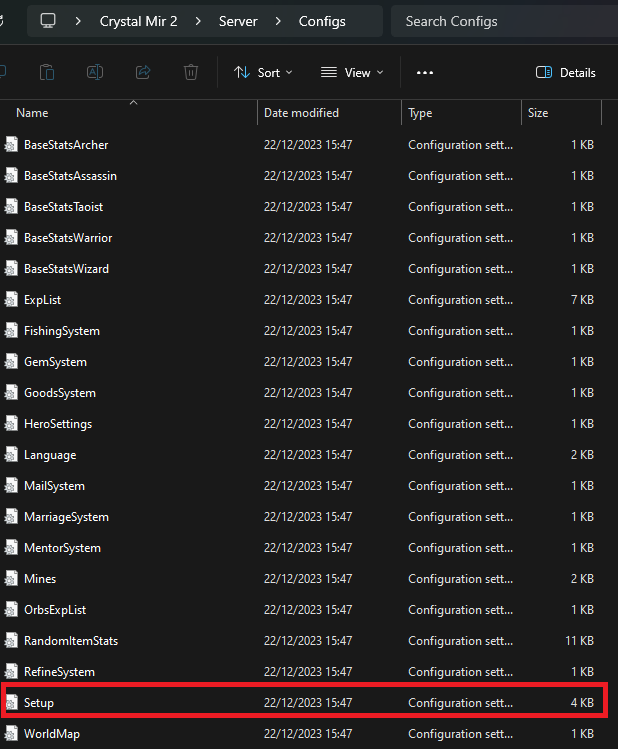
Change EnforceDBChecks=True > EnforceDBChecks=False and ignore Step 7. (!!Downloading a database is highly recommended!!)
Step 7
Downloading a Database
Head over to Github Suprcode Database Releases
Download the latest Release.
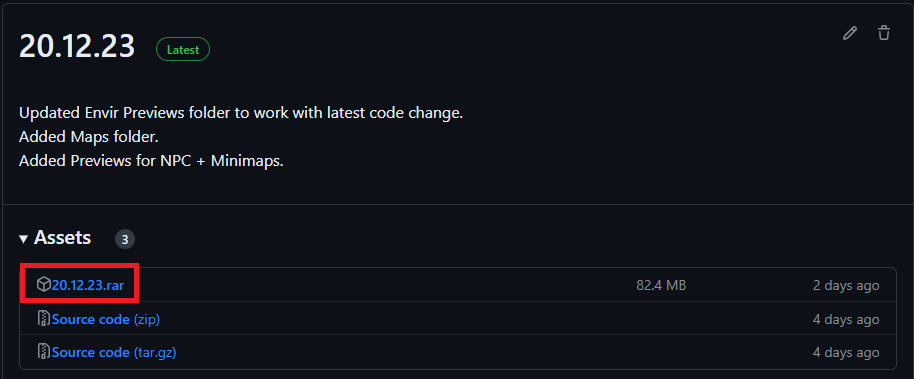
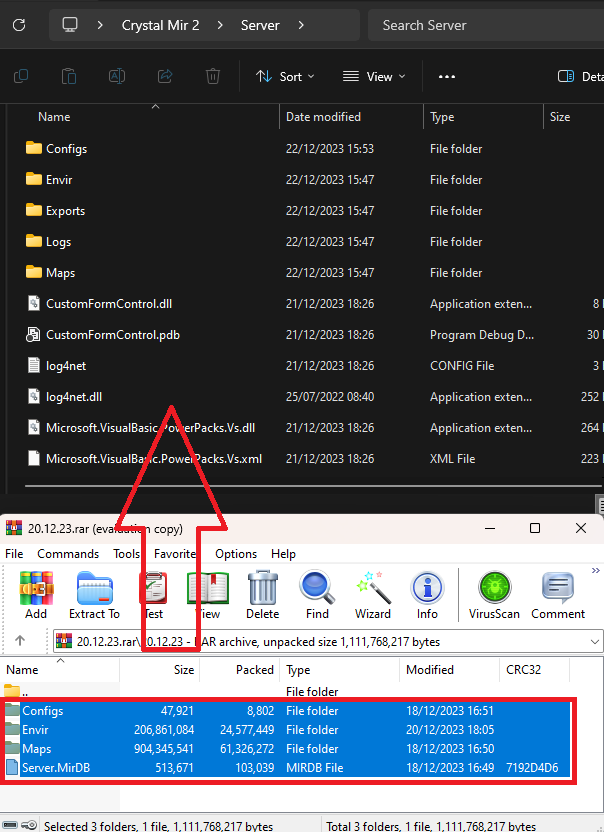
Once downloaded Open the .rar and drag the files/folder into your Server folder inside Crystal Mir 2 Folder.
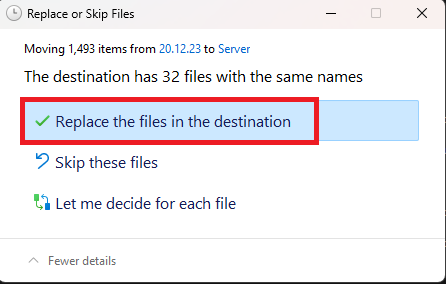
Click 'Replace the files in the destination'
Step 8
Getting Online
You have two options. Local Server or Ported Server.
If you want a Ported Server (Allow others to join) please follow the steps in the Port Forwarding Tutorial
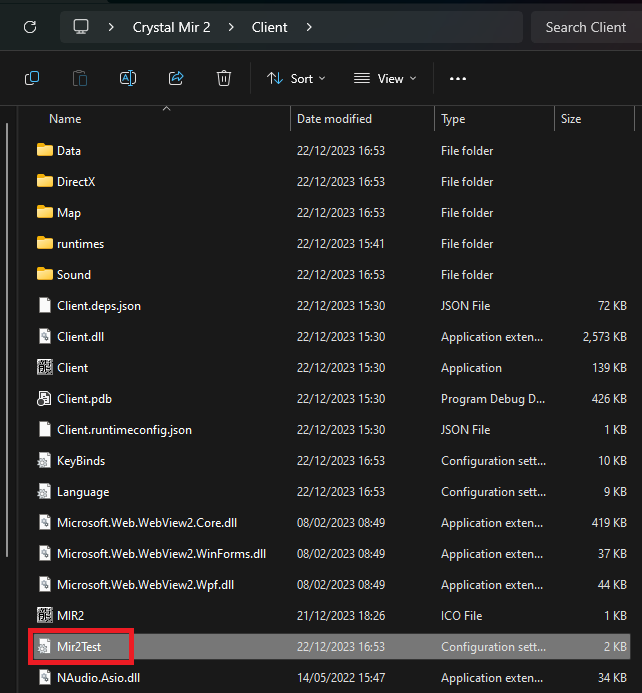
Alternatively for a Local Server:
Open your Client Folder and open Mir2Test.ini
Change
[Network] UseConfig=False
To
[Network] UseConfig=True IPAddress=127.0.0.1 Port=7000
Note: For a local Server you do not need to adjust any Server IP as this is defaulted to 127.0.0.1